
I didn’t take a professional course to become a product photographer. I did my bachelor’s in Technology in Computer Science and later jumped into Photography full-time. Because of the experience, I gained in the last 4 years, I have some tips for product photographers that I’ll be sharing in this post.
Everything I learned, I learned from YouTube, blogs, and hands-on practice. Unfortunately, I had to make my own share of mistakes to reach where I am today.
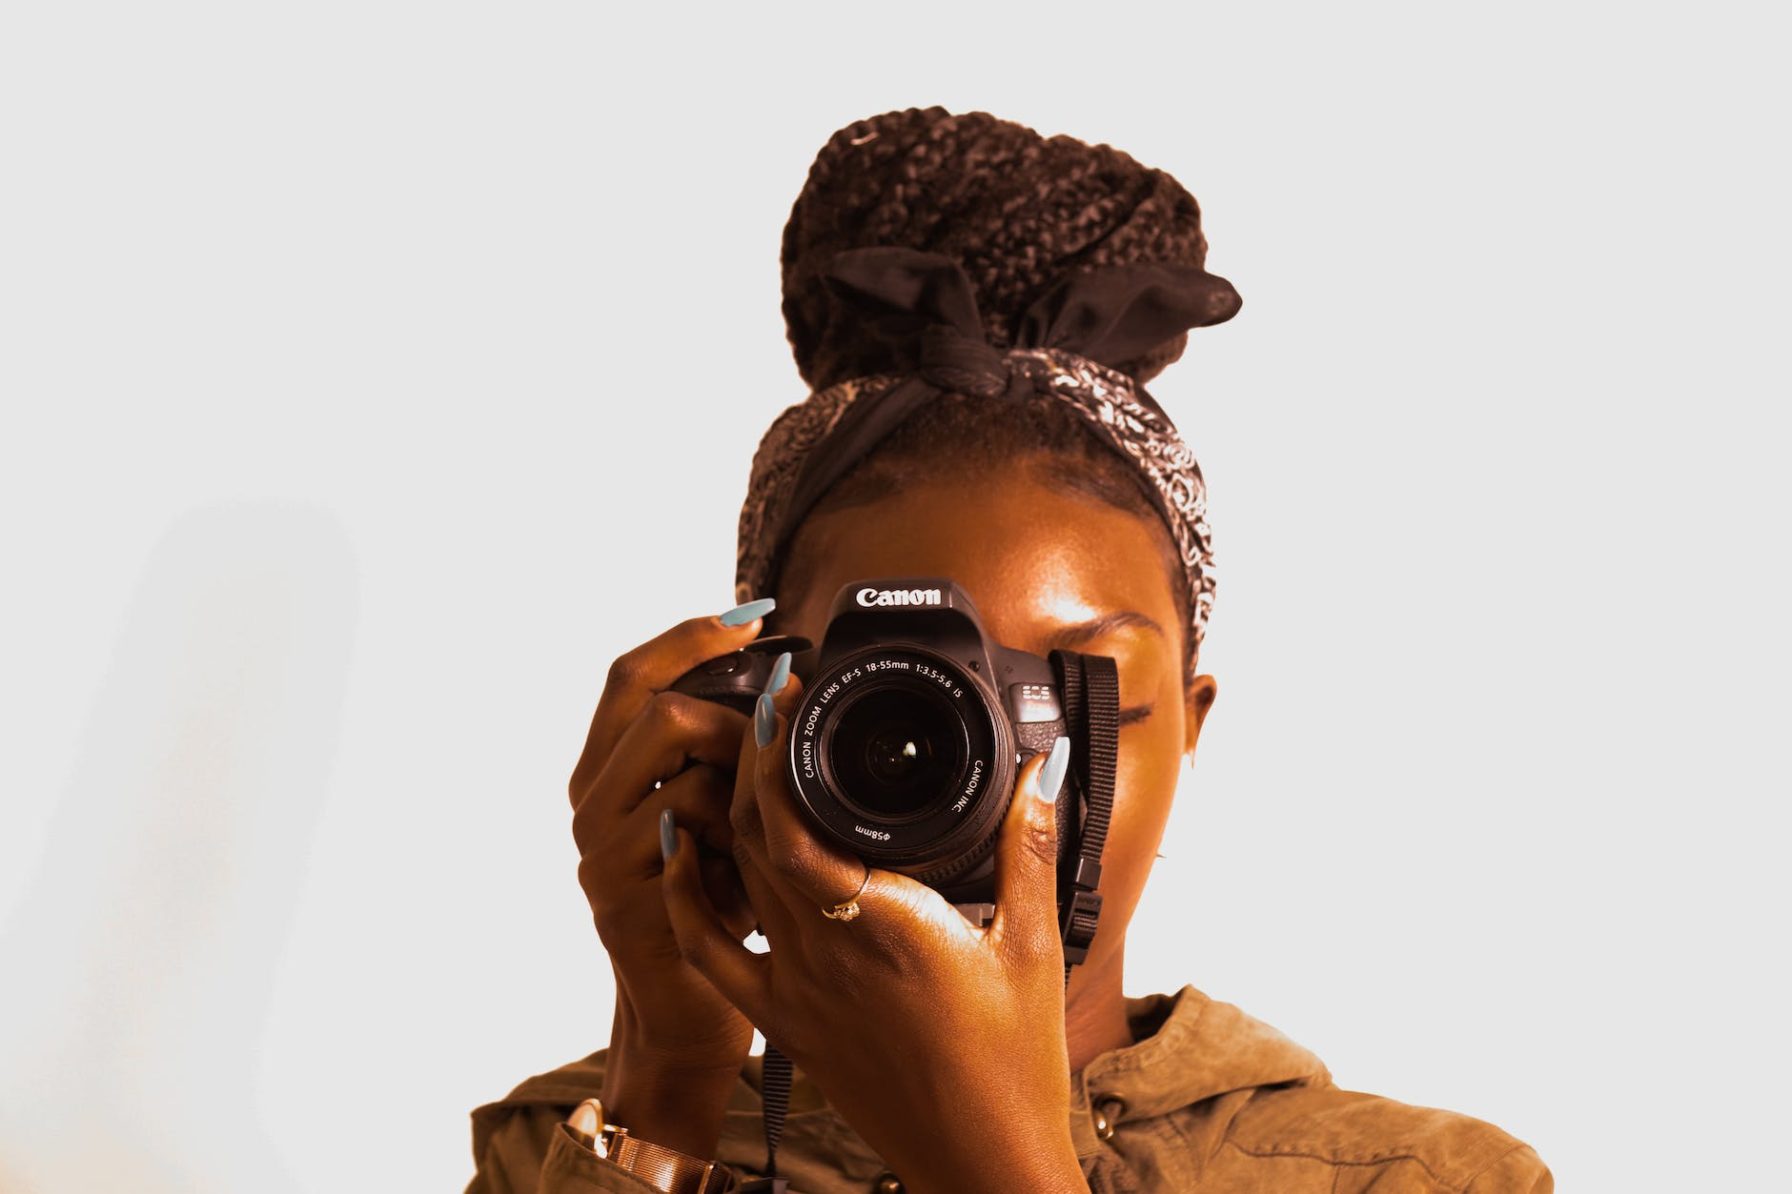
I’ve been working as a full-time freelance Product Photographer for over 4 years now.
And having worked with over 40 brands spread across categories such as skin care, health & wellness, fashion, etc, I have some product photography tips to share with you.
Product Photography isn’t just about creating stunning visual imagery for a brand that boosts its sales and blends in with its aesthetic.
To become a successful product photographer, you need to have a variety of skills. You have to be your own PR, Art Director, Stylist, Retoucher, etc.
At least until the time, you can afford to hire and build a team of experts to lend you a helping hand.
Table Of Contents
5 Tips for product photographers: You can’t miss these!

You need to invest in artificial light (continuous or strobe)
During my initial days, I thought I could continue taking pictures in daylight along with a whiteboard to soften the shadows.
This restricted the time for which I could shoot because I was dependent on the sun and how the weather was on the shoot day.
The jump from natural light to artificial lights such as a strobe or continuous light can be overwhelming.
But be assured that this change will drastically improve the quality of your work and give you more creative freedom.
You can move the light around to change the direction of the shadows being cast. You can adjust the intensity of the light.
You can use continuous light to shoot product videos as well.
I’d recommend starting out by investing in Godox SL60W with a Bowens mount softbox. It is a continuous light with adjustable intensity.
Take test shots of the setup
Use your smartphone to take pictures of the setup/composition you did to get an idea of how the pictures will look on a small phone’s screen.
This will give you a clear idea about how much space you have to play with in the shot.
It always helps to take a step back and look at a test shot, and remove unnecessary elements to let the product shine.
Also Read: Answering Your Burning Questions About Product Photography
Use a tripod to avoid blurry photos
Really zoom into the shot in the camera to make sure that the product is entirely in focus. It should be crisp!
To avoid blurry photos caused by slight hand movements, use a tripod. Don’t DIY a tripod by stacking up books and somehow managing to take the perfect shot.
It can very easily stumble and your camera will have to suffer the damage.
I am currently using the Digitek 520BH tripod and it has been working great for me!
It has the option for overhead-mounting as well which comes in handy while shooting flatlays.
Shooting with a tripod also saves you energy as you don’t have to keep standing with the camera in your hand.
When your business grows and you’ve to shoot multiple products on the same day, a tripod saves you the much-needed energy.
Don’t over-promise
It’s important to know your own skills. Don’t over-promise a client just to get a booking.
You should always under-promise and over-deliver.
If you over-promise and fail, it will degrade your credibility and the client will most likely not refer you in the future.
Also Read: What is burnout and how to avoid it as a Product Photographer
Importance of editing in Product Photography
Editing is not only essential but it does make a huge difference in a product photo.
This is one of the most important tips for product photographers out there.
You can alter your backdrop’s color to match the product, edit out the imperfections like dust, odd reflections on the product container, uneven surfaces, etc.
The first you should always focus on while editing is that your product is not overexposed. All of the details should remain intact.
The perspective should be correct both horizontally and vertically.
Use the spot healing and clone stamp tools to remove different kinds of imperfections. Use levels and curves layers to fine-tune the highlights, mid-tones, and shadows.
You can even ask the client to send you the label’s file separately so that you can photoshop it over the product you shot. It will look clearer.

Subscribe to never miss a post!
Leave a Reply