
For all those of you who know me from Instagram, this tutorial was long due. I’ll be sharing the whole process of color grading in Lightroom. Before learning how to color grade, if you want to have a look at the kind of color grading I do, here’s my Instagram.
The color-grading on which I have received the best response is the one autumn-brown tones, like in the post below:
Table Of Contents
How I decide on the kind of color grading I want to do in Lightroom
People often ask me how do I color grade and how I decide on what kind of color grading I want to do on a picture. Around 80% of the time, I have the set of tones in my mind when I’m shooting the pictures. It is very closely related to the composition, light, and mood of the location I’m shooting at.
For instance, let’s say I’m shooting at a subway or a metro station. The location would be darker as compared to sunny outdoors. So I’ll double-check whether I’m shooting in RAW or not. Another thing that I always double-check is that I keep the colors neutral in the camera.
This reduces the amount of color captured in the picture. And it has somewhat less contrast. When I edit this picture, I would have a blank canvas which I can color in a way that I like.
Also Read: How to remove objects from pictures in seconds on Photoshop
Cinematic tones with light leaks and scratches
When I took this shot, I knew I wanted to color grade it in cinematic tones, light flares, and dust & scratches for a vintage look.
Learn to recognize the colors present in the picture
You can even achieve tones similar to a picture you found on Instagram. All you have to do is recognize the colors present in the highlights and in the shadows.
For this, you need practice. Lots of it. Even expertise, if I may say so. Only when you’ve spent enough time color grading in Lightroom, you’ll know what you have to alter to get the exact same colors.
Also Read: Single Flash Setup: How To Nail It!
Let’s see an example,
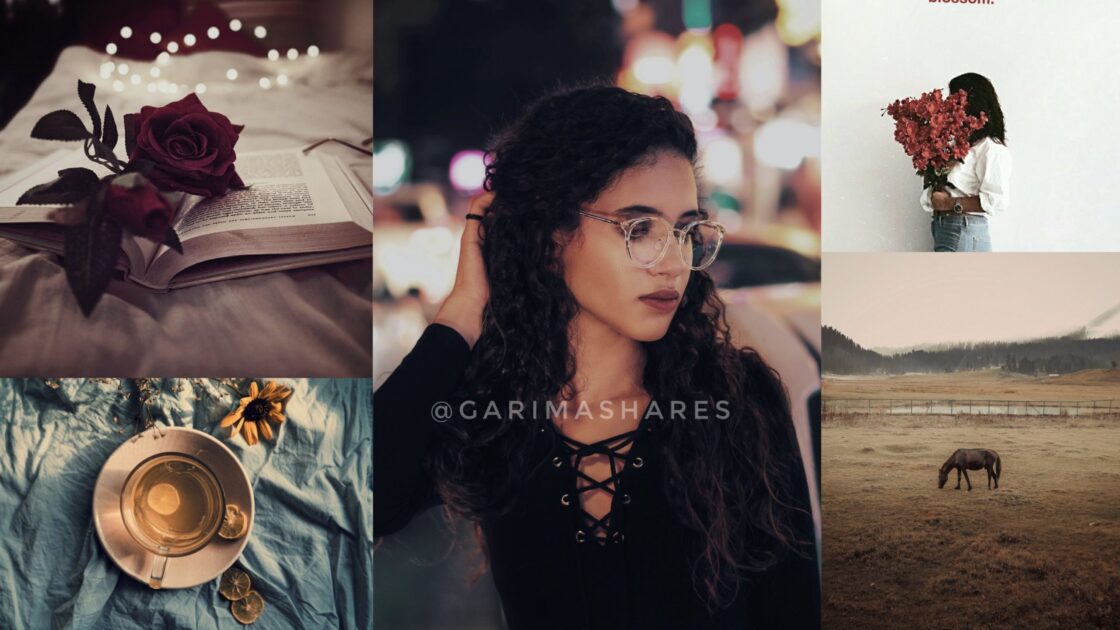
Soft-faded color grading
Can you identify the colors present in the highlights and the shadows? Highlights are the regions of the picture that are the brightest.
In this picture, the highlights are in the backdrop, on the top of her hair, and little over her shoulders. Ideally, highlights would be white because that’s how the light looks in the camera. But in this edited shot, the highlights are in an orange-yellowish, almost a beige tone.
Coming on to shadows. Look for the darkest areas in the picture. Ideally, these should’ve been black. But the picture is color graded so you can identify another color that dominates the shadows. Can you identify which one is it? Give it a try. I’ll wait.
.
.
It is a combination of blue and grey. A shade of grey exists because I added fade in the picture. To add fade in a picture, you have to pull the RGB curve from its lowest point. Pull it straight up, just a tiny bit.
We’ll do this exercise for one more picture before I tell you how to do color grading in Lightroom.

Strong and vibrant edits
Step 1: Identify the highlights. They are in the sunlight that’s coming from between the trees and on the road, near the feet of the walking men.
Step 2: What is the colour of the highlights? A mix of orange and yellow with orange on the higher side.
Step 3: Identify the shadows. A large part of the picture is in the shadows. The backs of three men and the trees, roads are all the areas in the shadows.
Step 4: What is the colour of the shadows? It is aqua blue.
Remember to begin with these 4 steps whenever you want to colour grade a picture in a specific set of tones.
Ask these questions to yourself when you start color grading a picture
Where are the highlights in this picture?
What color are the highlights?
Where are the shadows in this picture?
What is/are the colors present in the shadows?
Also Read: How to get your photographs published in magazines
Techniques for color grading in Lightroom
You can color grade your pictures in Lightroom using the following three tools available.
RGB Curve

You can use both the RGB curves and the individual color curves to color grade your pictures. As you can see in the picture above, two points are highlighted, red and yellow.
When you move the red point, you will be adding colors in the shadows. Similarly, when you move the yellow point, you will be adding colors in the highlights.
Split toning

This is a pretty straight forward method to color grade. The split toning tool gives you the ability to directly add colors in the highlights and shadows with sliders.
As you move the sliders, the color varies. You can adjust the saturation of the color using the saturation slider placed just below it.
Camera Calibration

When I first discovered camera calibration, I was amazed at its potential. A small change in the slider can lead to drastic color changes in the photo. So, use this one wisely.
For instance, move the blue primary hue slider to the left and you will have an orange & teal coming up in your picture.
Make sure to don’t overdo it. When you move the blue primary hue slider to the left, it also affects the reds and oranges in your picture. This means now your skin looks very odd.
You can fix the skin by adjusting the green and red primary’s hue slider. Also, you can use the HSL to edit individual color’s hue, saturation, and luminance.
One of the key points, that you should always remember while color grading a photo is that,
Color grade your picture around the skin tone. No matter what kind of colors you’re going for, the skin should always be as close as possible to its natural shade of color

Subscribe to never miss a post!
Leave a Reply