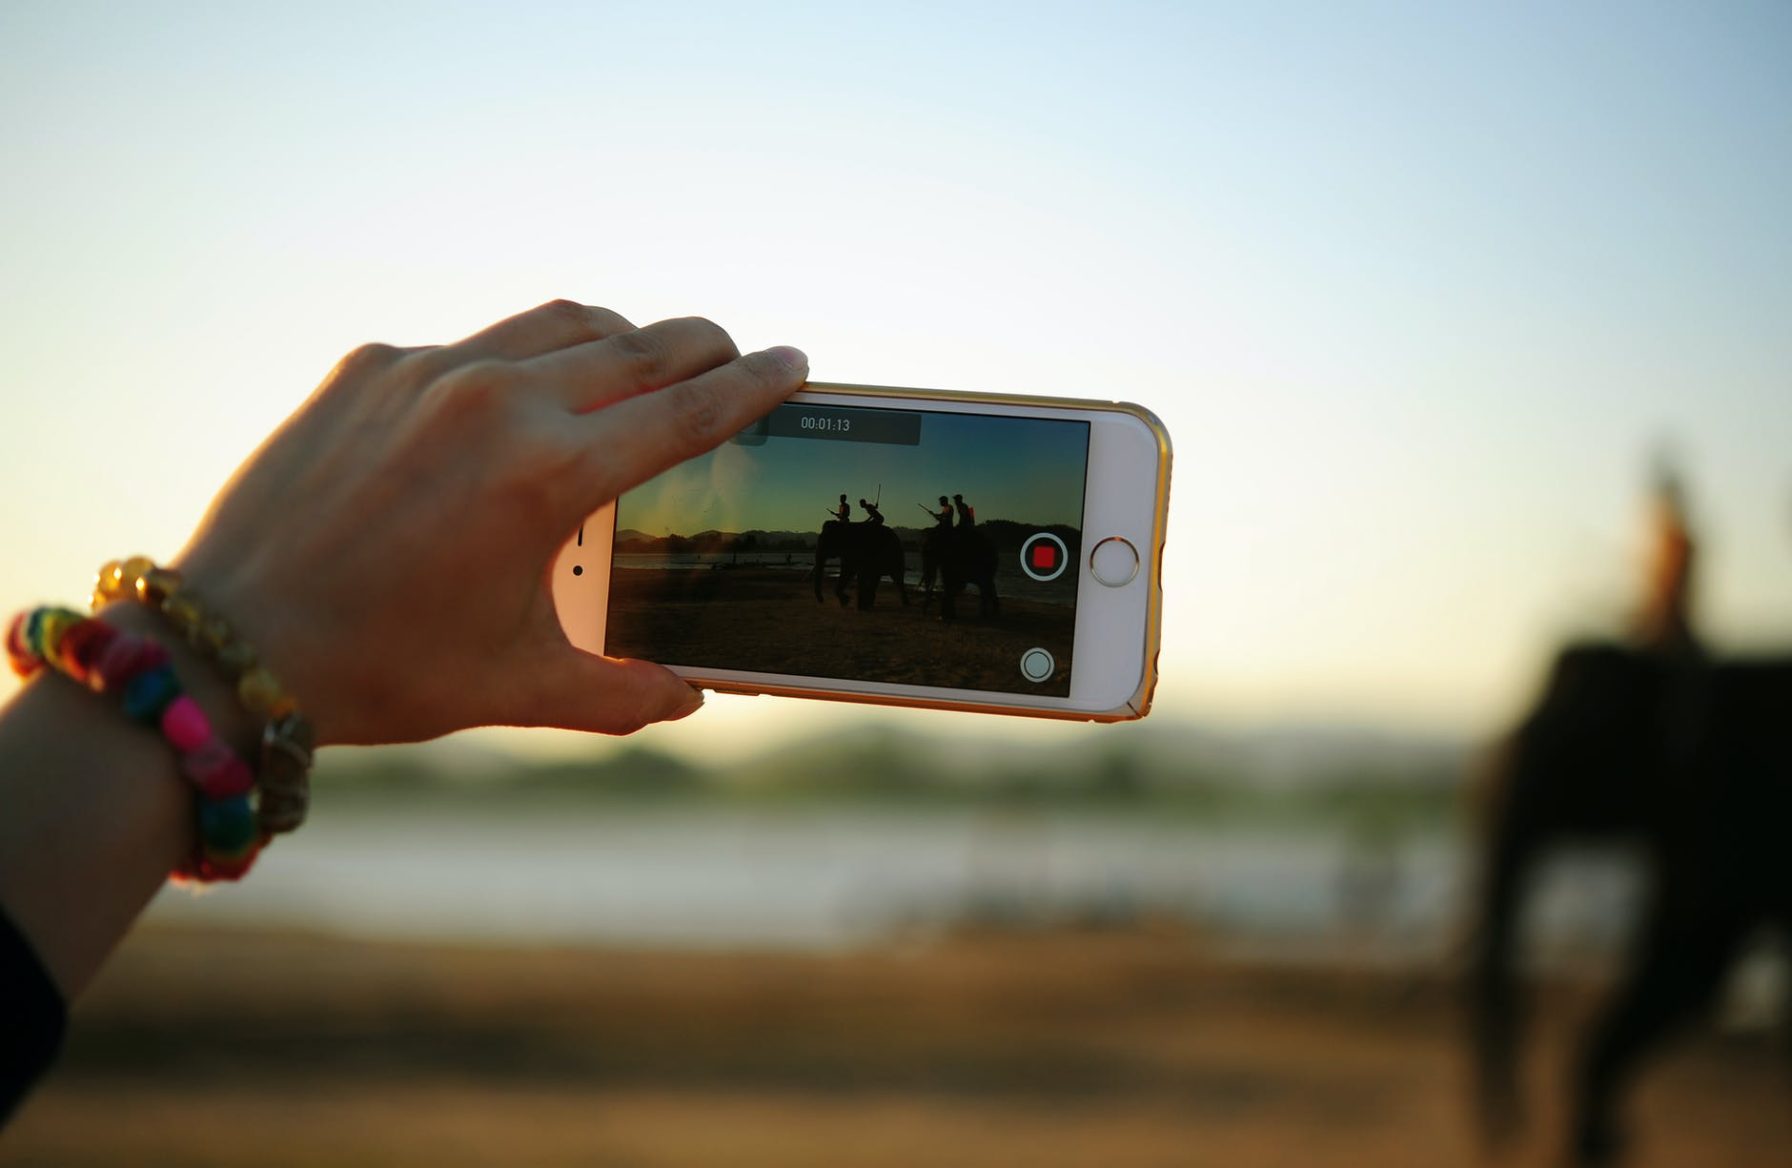
Did you know that there are video editing tools right there in the Google Photos app?
Most phones have the Google Photos app pre-installed.
If you don’t have the app on your phone, download & install it –
The video editing tools available on the Google Photos app aren’t like the ones available on other popular video editing apps like InShot, VN, and Capcut.
It has a handful of features that are amazing once you learn how to make the best out of them!
If you are planning to edit a video by compiling many videos and photos then you’ll need to use an app like InShot first.
Open the video in the Google photos app after the compilation has been done and the only edits left are stabilizing, color grading, and basic adjustments.
Table Of Contents
How to edit videos using Google Photos app
1. Crop, rotate & trim video
Go to the Google Photos app and open the video you want to edit.
On the bottom, you’ll see three options – Share, Edit & Delete.

Click on Edit to see all of the video editing tools in the app.

From the many options you see at the bottom of your video, click on the crop.
You’ll see 3 icons which I’ve highlighted in the screenshot above.

The first one lets you crop your video in different dimensions like 1:1, 4:3, 3:2, 16:9, etc.
The second icon lets you rotate your video. The third icon is for fixing the perspective of your video, both horizontally and vertically.
There are sliders on the extreme right and left that mark the beginning and the end of the video.
You can move those sliders to trim your video.
Also Read: 10 Travel Reel Ideas You Should SAVE right away
2. Mute & Stabilize your video significantly

The first icon that is in the shape of a speaker lets you mute your video. Tap on the icon to mute your video. Tap it again to unmute it.
The second icon which I’ve highlighted in the screenshot above stabilizes your video.
The resulting video will be smoother. Trim your video before stabilizing it so that it takes less time to stabilize the video.
Although stabilizing feature isn’t spot-on as of now. So give it a try and see if it does the job for your video nicely. It works for me 7 out of 10 times.
3. Try out the video filters

Go to the Filters tab and try out the different filters available.
My personal favorite is reels and metro filters. You can tap on the filter to adjust its intensity.
Don’t keep the intensity to a 100 as it can look a bit overdone.
Also Read: How To Edit Instagram Reels On Beats Of A Song Using Supersync: EASIEST Tutorial
4. Adjust brightness, highlights, contrast & more

Click on Adjust and you’ll see a variety of options. You can adjust the brightness, contrast, white point, highlights, shadows, black point, saturation, warmth, tint, skin tone, blue tone, and vignette.
The things that I adjust most often in my videos are highlights, black point, blue tones, and a tiny bit of vignette.
If your video is a bit over-exposed, decrease the highlights. If it is under-exposed, increase the shadows but just a little.
5. Export a frame from your video

Want to take out a perfect shot from your video? Now you can!
Click on the first option at the bottom that says Video and click on the button ‘export frame’.
Before hitting the button make sure you slide the cursor on the video playing at the exact moment whose picture you want to export.

Subscribe to never miss a post!


Leave a Reply