Simply applying the Lightroom presets you bought doesn’t work.
It would help if you learned how to make the basic adjustments to make that preset fit your photo like a glove.
Lightroom presets offer a great base for editing photos especially when you’re just starting to use Lightroom.
There are many tools available in Lightroom and this can be overwhelming.
While getting Lightroom Presets to help you is a great first move, you should also learn how to make that preset look its best self on your image.
Let’s see an example with my Amber Preset.
Table Of Contents
How to make Lightroom presets look good on your photos

If you’re using my Amber Preset to edit your photos in Lightroom, thank you! It’s one of my favorite presets that I often use myself.
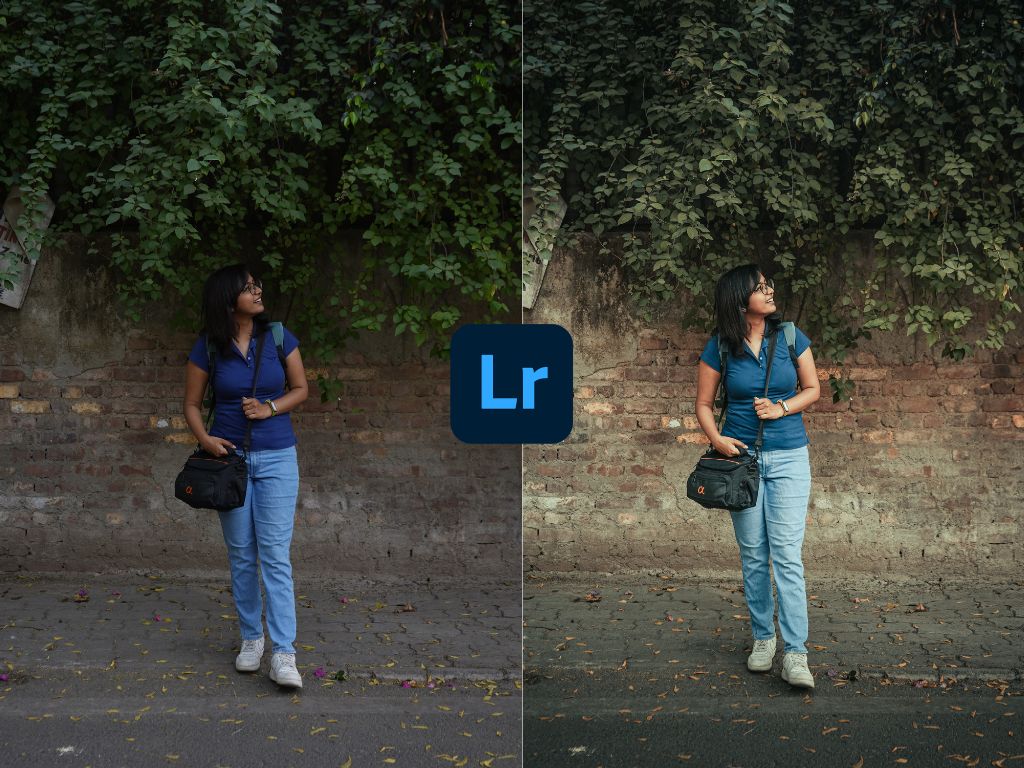
Let’s start with this image.
This is how it looked when imported in Lightroom:

And this is how it looked after applying my Amber Preset:

Not so great, is it?
Let’s start adjusting things to make the preset suit the photo better.
Step 1: Adjust the overall brightness and contrast
As you saw in the previous image, the photo looks a bit dark and the details are getting lost.
We can fix this by adjusting exposure and contrast.

Start by slightly increasing the exposure using its slider. Use the curves like in the screenshot above to add a touch of contrast to the image.
Notice how I have increased the shadows to +86 and +50 to bring back the details from the dark regions of the photo.
This number will vary from photo to photo. Find the right number according to the lighting in your image.

Step 2: Fix the color hues
The color of my skin and clothes is unreal.
To fix this, go to the Color Tab.
Use the color mixer to specifically adjust the colors – blue, yellow, and orange.
Blue because that’s the color of my clothes that has to be fixed and yellow/orange for the skin tone.


Looks much better. I made changes to the color of my skin, my clothes, and the wall behind me.
Also Read: How To Master Masking in Lightroom: TUTORIAL for 6 Kinds of Masking
Step 3: Add a bit of drama with gradients

I added two linear gradients to the photo.
One at the top and one at the bottom to create a dramatic effect and depth in the photo.
I decreased the exposure a bit in these gradients and increased the contrast.
If you’re not familiar with gradients in Lightroom, check out this tutorial.


Subscribe to never miss a post!


Leave a Reply