
Are you looking for an easy tutorial on speed ramping in Inshot?
You’ve come to the right place.
Speed ramping techniques can make your videos look more visually appealing.
I can guarantee you will get more views on your reels when you put in the effort to learn speed ramping.
After all, you’ve only about 3 seconds to make the viewer want to stay and see the complete reel before they scroll to the next one.
Step-by-step Tutorial for Speed Ramping in InShot
Open your video in InShot.
If you don’t have the app, download and install it – iOS/Android.

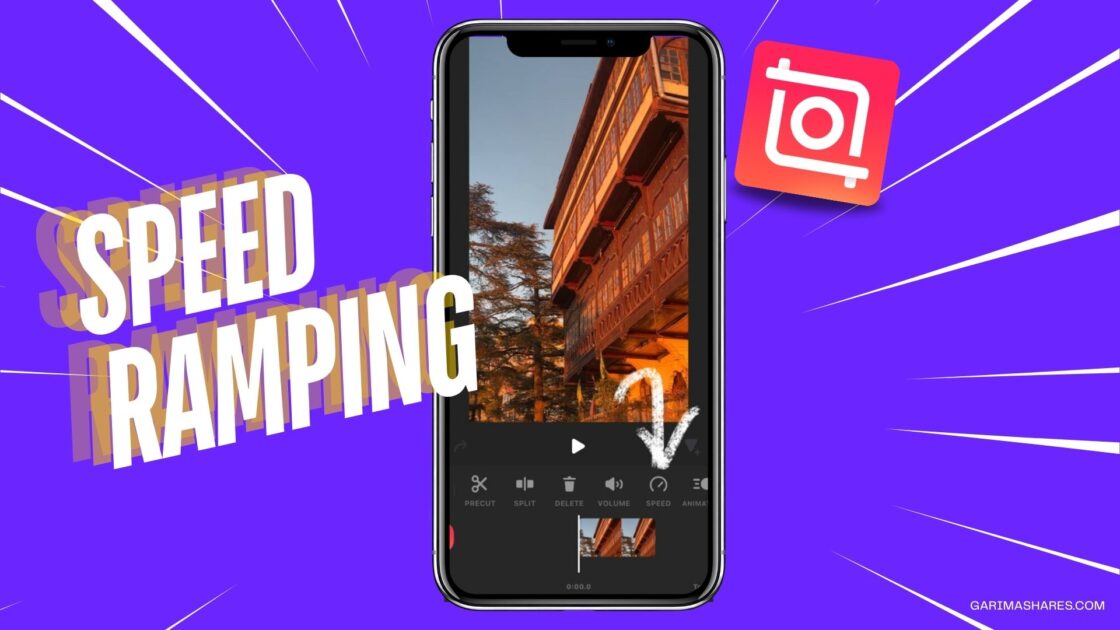
After opening your video in InShot, swipe the bottom menu to the left until you see the speed option.

Click on speed and a new set of tools will open up – Standard and Curves.
Using the standard option you can slow down or speed up your video as much as you want, for example, slow it down by 0.4 times or speed it up by 2.5 times.
Also Read: How To Edit Green Screen In Inshot: EASY 1-Minute Tutorial
Remember to click on the smooth button after making any changes to the speed of the video, whether it’s made through Standard or Curves.
Now, let’s see the Curves option.
You will need some practice to master altering the speed of your video using curves.
How do curves work?
The x-axis denotes the duration of your video and the y-axis denotes the speed of your video.
If the curve is a straight horizontal line, it shows that the speed of your video is the original speed at which it was shot.
To reduce the speed at any timestamp, click on that point in the curve and pull it down.
The farther you pull it down, the slower the speed of your video will get.
Similarly, to speed up at any timestamp in the video, pull that point on the line up.
The higher you pull it up, the faster your video will get.

You can get creative and experiment with changing speed at different timestamps or use the presets in the app.
While using the presets, click on the preset to apply it, and remember to click on the smooth button to smoothen out the entire speed change.
And that’s it!
If you want to make your video look cinematic, check out my video LUTs where I have shared my colorgrading (that helped me reach 150k on Instagram!)
Also Read: How To Import LUTs in VN Video Editor App
Let me know in the comments below if this tutorial was easy to follow and if you have any queries.
Which tutorial should I do next?
Follow me on Instagram to stay connected and see more such tutorials.

Subscribe to never miss a post!
Leave a Reply